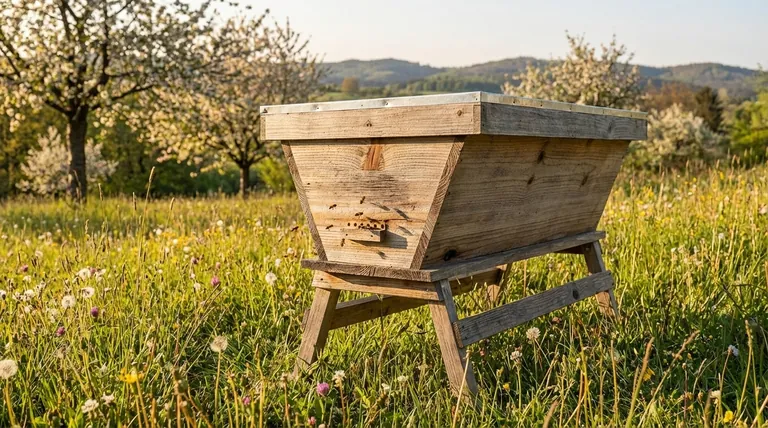
Starting a bee colony in a top bar hive requires careful planning. Unlike traditional Langstroth hives, top bar systems prioritize simplicity and natural comb building—but choosing the wrong introduction method can lead to colony stress or failure. This guide explores practical, context-sensitive approaches to ensure your bees thrive from day one.
Introduction to Top Bar Hive Bee Colonization
Top bar hives appeal to beekeepers seeking low-maintenance, sustainable systems. Their horizontal design eliminates heavy lifting (no supers to stack) and encourages bees to build combs organically. However, introducing bees to this environment demands attention to:
- Colony source (package bees vs. nucleus colonies)
- Seasonal timing (early spring is ideal for establishment)
- Hive preparation (proper spacing and bait comb to attract bees)
Research shows that colonies adapt faster when introduced during nectar flows, as natural food sources reduce reliance on supplemental feeding.
Factors Influencing Your Bee Introduction Method
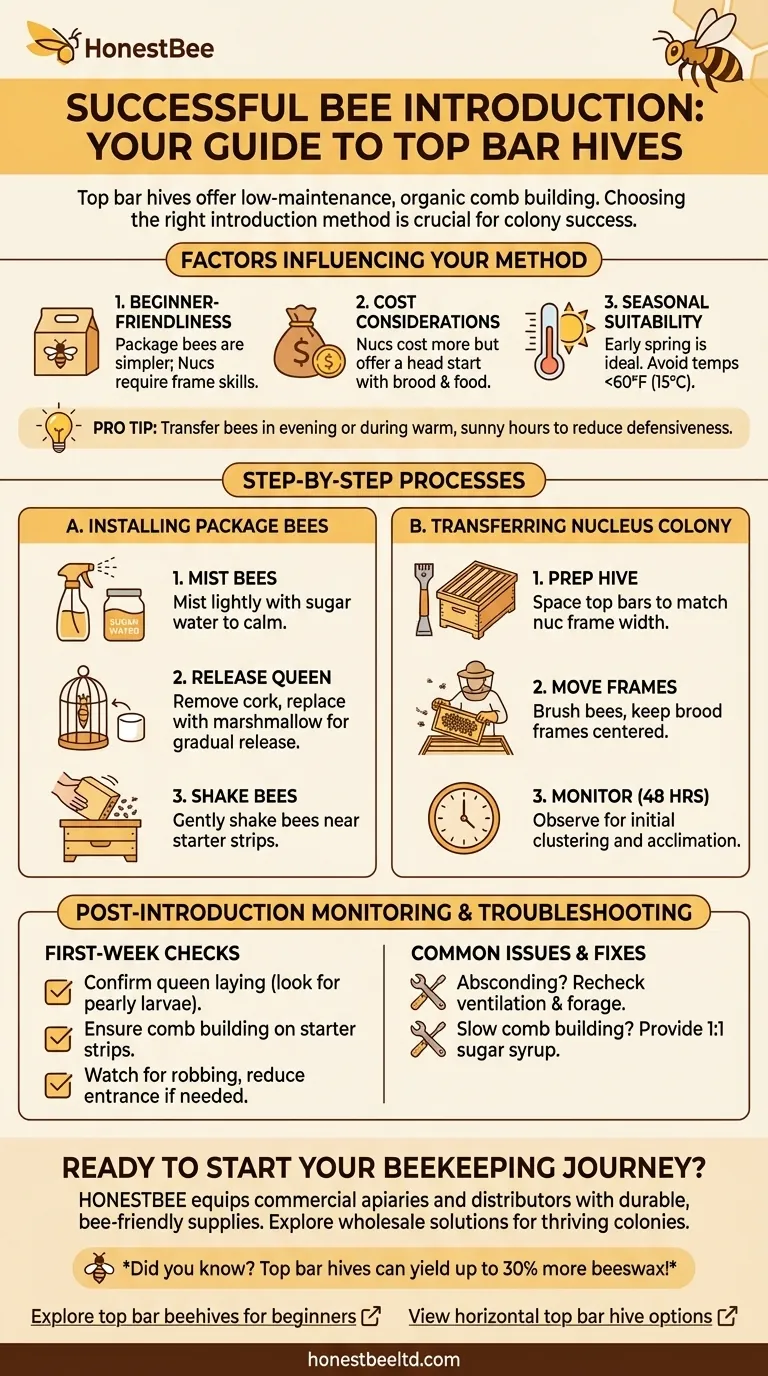
1. Beginner-Friendliness
Package bees (caged bees with a queen) are simpler for newcomers, while nucleus colonies ("nucs") require careful frame transfer skills.
2. Cost Considerations
Nucs cost slightly more but provide a head start with established brood and food stores.
3. Seasonal Suitability
Early spring transfers minimize temperature risks. Avoid days colder than 60°F (15°C)—chilled brood is a leading cause of early colony collapse.
Pro Tip: Transfer bees in the evening or during warm, sunny hours when foragers are active. This reduces defensive behavior.
Step-by-Step Processes for Each Method
A. Installing Package Bees
- Mist the bees lightly with sugar water to keep them calm.
- Release the queen first by removing her cage’s cork plug (replace it with a marshmallow—bees will free her gradually).
- Shake bees into the hive gently, ensuring the cluster lands near pre-drawn comb or starter strips.
B. Transferring a Nucleus Colony
- Prep the top bar hive by spacing bars to match the nuc’s frame width.
- Move frames one by one, brushing bees into the new hive. Keep brood frames centered for optimal temperature regulation.
- Monitor for 48 hours—bees may initially cluster outside before acclimating.
Post-Introduction Monitoring and Troubleshooting
First-Week Checks:
- Confirm the queen is laying eggs (look for curved, pearly-white larvae).
- Ensure bees are building comb along starter strips.
- Watch for robbing behavior; reduce the hive entrance if needed.
Common Issues and Fixes:
- Absconding bees? Recheck hive ventilation and nearby forage availability.
- Slow comb building? Provide 1:1 sugar syrup to stimulate wax production.
Ready to Start Your Beekeeping Journey?
HONESTBEE equips commercial apiaries and distributors with durable, bee-friendly supplies—from hive tools to protective gear. Explore our wholesale solutions designed to help your colonies thrive.
Did you know? Top bar hives can yield up to 30% more beeswax than framed systems, creating added value for beekeepers.
Products You Might Be Looking For:
Explore top bar beehives for beginners
View horizontal top bar hive options
Guia Visual
Produtos relacionados
- Colmeia de barra superior para apicultura Venda por grosso Colmeia de barra superior no Quénia
- Colmeia de barras superiores horizontais de estilo Langstroth longo para venda por grosso
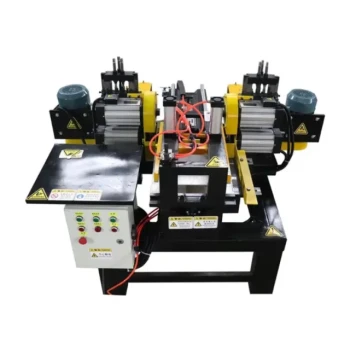
- Máquina Formadora de Rolos de Barra Superior e Inferior de Precisão HONESTBEE para Produção de Quadro de Colmeia
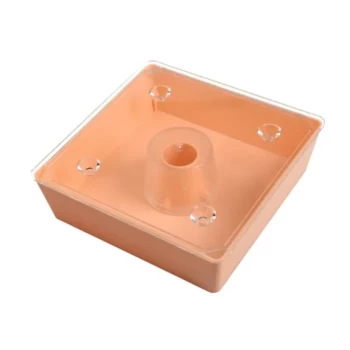
- Alimentador de abelhas HONESTBEE Square Top Hive Alimentador de abelhas Top
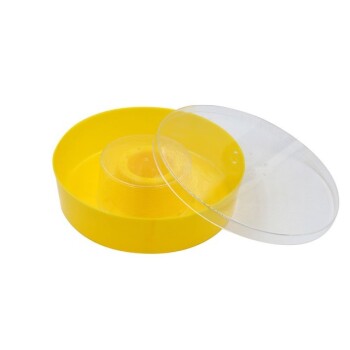
- Alimentador de colmeia redondo HONESTBEE para xarope
Artigos relacionados
- Como inspecionar as colmeias de barras superiores sem danificar os favos: Guia do Apicultor
- Para Além do Controlo de Pragas: A Lógica Operacional da Colmeia Top-Bar Queniana
- How Top Bar Hives Naturally Boost Bee Health and Simplify Beekeeping
- Arquitetura da Colmeia e o Paradoxo do Inverno: Por Que a Retenção de Calor Não é Suficiente
- Como colher mel das colmeias Top Bar de forma sustentável: Um guia amigo das abelhas